CyberSmarts for Seniors: Using a Computer (Video 5)
Learn how to operate the mouse and keyboard of a computer and the essential keys on the keyboard that you should know.
 Admin
Admin 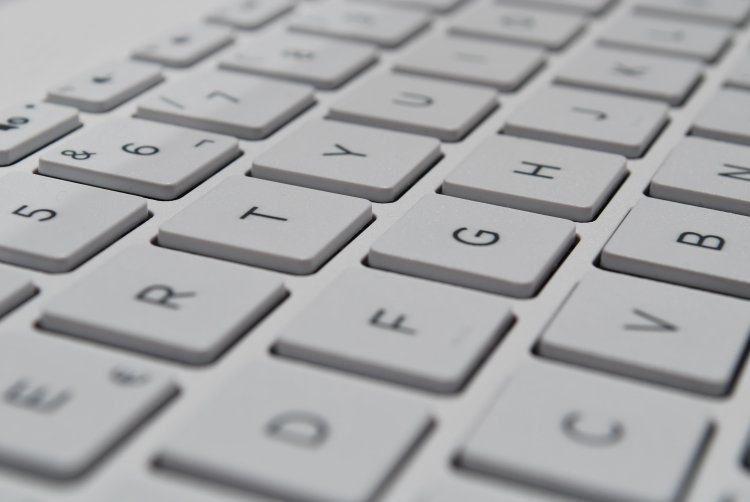
In this lesson, we’ll look at using the different parts of a computer, including the keyboard and mouse. We’ll also look at the essential keys on the keyboard that you need to know.
First, we’ll look at using the mouse. Place your right hand on the mouse, with your pointer finger on the left-click button and your middle finger on the right-click button.
In this position, you should be able to quickly and freely move the mouse around. If you have arthritis or find that your wrist gets sore while using the mouse, you can get a mousepad with a wrist rest, such as this one, to help alleviate the pain.
Now, let’s look at the keyboard. The proper way to rest your hands on the keyboard is with your pointer fingers on the “F” and “J” keys. Many keyboards will have a line or a bump on these keys so you can quickly and easily remember where to put your hands. In this position, your fingers should be able to reach all the other keys without moving your hand around at all.
The long key at the bottom of the keyboard is the Spacebar. As the name implies, the spacebar’s primary function is to add a space between words while you are writing.
You’ll find the “Shift” keys on both sides of the keyboard. These keys allow you to switch from uppercase to lowercase letters while you are holding them down.
You’ll also notice that several keys (such as the number keys) have a second symbol. The “Shift” keys also allow you to type these secondary symbols. For example, you need to press “shift” to type the exclamation point on the top of the “1” key.
Above the right shift key, you’ll find the “Enter” or “Return” key. It is usually marked by a downward left-pointing arrow, the word “enter,” or both. This key will add a new line while typing, allowing you to create paragraphs.
It is also often used for activation and submission when doing certain things on your computer. For example, pressing the enter/return key while a dialogue box is open will select the highlighted response.
Above the “Enter” key is the “Backspace” or “Delete” key. This key is usually marked by a left-pointing arrow, the word “backspace,” or both.
As the name implies, it allows you to delete text that you have typed. You can either tap it to delete one character at a time or hold it down for a while to delete larger sections all at once.
In the top left corner of the keyboard is the “Escape” key. It is usually marked with the abbreviation “Esc.” It allows you to escape or exit out of certain programs or windows.
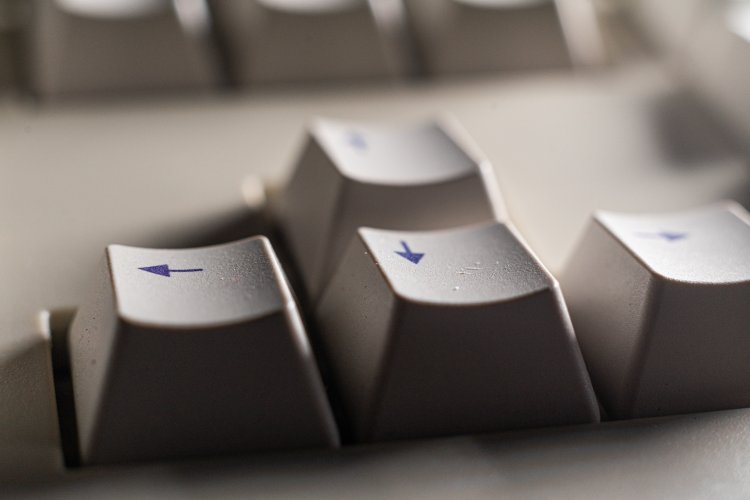
The “Movement” or “Arrow” keys are in the bottom right corner of the keyboard. These keys consist of arrows facing up, down, left, and right. They allow you to move your text input around a text document, scroll and navigate on web pages, select options, or move your character in a game.
Running along the top of the keyboard are the “Function” keys. These keys allow you to perform different functions, depending on the keyboard. For example, the Function keys on some keyboards enable you to do things like change the brightness of the screen, lower or raise the volume, and play and pause music.
The last two keys to keep in mind are the “Control” and “Alt” keys, usually marked by the abbreviations “ctrl” and “alt.” These keys are used to perform certain functions within the computer. However, in day-to-day computer use, you will most likely not need to use them.
Some keyboards may also have a numeric pad. The numeric pad is located to the right of the keyboard and consists of the numbers and keys that you would typically find on a calculator.
The numeric pad is typically used when you need to quickly and easily input numbers into the computer. For example, it may be useful when filling out a tax form or doing calculations.
Now you know the basics of using a mouse and keyboard. In our next lesson, we’ll look at navigating the desktop.
This is Part 5 of a 7-Part series. You will get the most benefit out of this series if you watch the videos in order.
Part 3 - Basics of a Chromebook
Part 4 - Common Computer Accessories
Part 6 - Navigating the Windows Homescreen
Part 7 - Navigating the Mac Homescreen
.
Return to the Introduction to the Computer Basics Video Lessons:
Become Computer-Savvy (Video Lessons Intro)
.
Return to the CyberSmarts for Seniors Introduction:
CyberSmarts for Seniors: Practical Lessons to Build Digital Confidence and Safety

This resource is part of the CyberSmarts for Seniors Project, funded in part by the Government of Canada’s
New Horizons for Seniors Program and ELNOS, and delivered in Elliot Lake by Raknas Inc. and Golden Voices, the seniors-focused division of the DiversityCanada Foundation.
,
,